Fly.io
Last checked with Wasp 0.26 and Fly.io (as of Apr 6, 2026).
This guide depends on external libraries or services, so it may become outdated over time. We do our best to keep it up to date, but make sure to check their documentation for any changes.Automatic Deployment server client database
We recommend that you use Wasp Deploy to deploy your Wasp app to Fly.io. Wasp CLI automates deploying your app and its database with one command.
Manual Deployment server client database
This guide shows you how to deploy your app and provision a database on Fly.io.
A built Wasp app is a single server that serves your app's pages, its static assets and its API, so it needs a single Fly.io app.
Prerequisites
To get started, follow these steps:
You can check if you are logged in with fly auth whoami, and if you are not, you can log in with fly auth login.
Set Up a Fly.io App
You need to do this only once per Wasp app.
Unless you already have a Fly.io app that you want to deploy to, let's create a new Fly.io app.
After you have built the app, position yourself in .wasp/out/ directory:
cd .wasp/out
Next, run the launch command to set up a new app and create a fly.toml file:
fly launch --remote-only
This will ask you a series of questions, such as asking you to choose a region and whether you'd like a database.
-
Say yes to Would you like to set up a PostgreSQL database now? and select Development. Fly.io will set a
DATABASE_URLfor you. -
Say no to Would you like to deploy now? (and to any additional questions).
We still need to set up several environment variables.
If your attempts to initiate a new app fail for whatever reason, then you should run What does it look like when your DB is deployed correctly? When your DB is deployed correctly, you'll see it in the Fly.io dashboard:fly apps destroy <app-name> before trying again. Fly does not allow you to create multiple apps with the same name.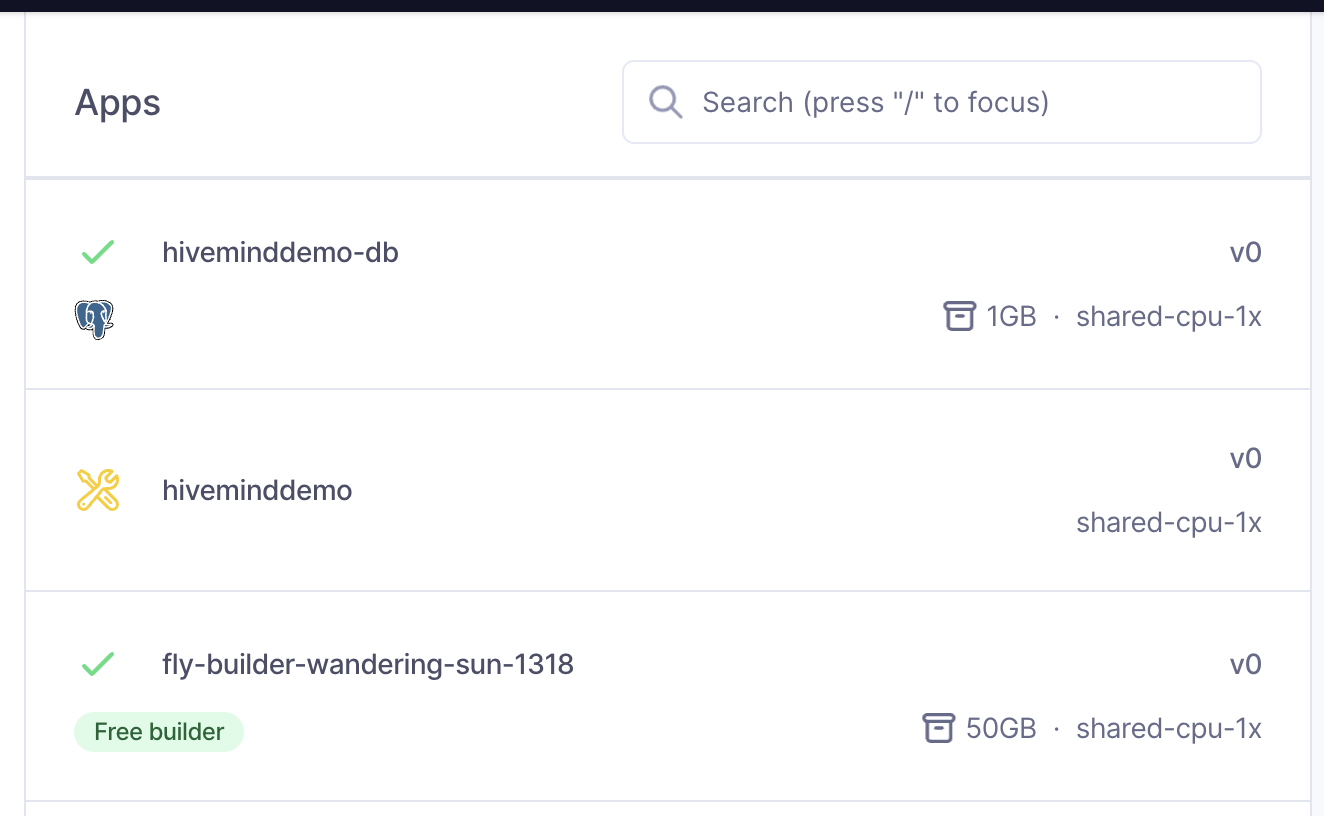
Next, let's copy the fly.toml file up to our Wasp project dir for safekeeping.
cp fly.toml ../../
Next, add a few more environment variables for your app.
fly secrets set PORT=8080
fly secrets set JWT_SECRET=<random_string_at_least_32_characters_long>
fly secrets set WASP_SERVER_URL=https://<app-name>.fly.dev
PORT is the port your app listens on inside the Fly.io machine, so it has to match the internal_port in your fly.toml.
We can help you generate a JWT_SECRET:
There's no separate client URL to configure. WASP_WEB_CLIENT_URL defaults to WASP_SERVER_URL, and one server serves both your app's pages and its API.
If you want to make sure you've added your secrets correctly, run fly secrets list in the terminal. Note that you will see hashed versions of your secrets to protect your sensitive data.
Deploy to a Fly.io App
While still in the .wasp/out/ directory, run:
fly deploy --remote-only --config ../../fly.toml
This will build and deploy your whole Wasp app on Fly.io to https://<app-name>.fly.dev 🤘🎸
Additionally, some useful fly commands:
fly logs
fly secrets list
fly ssh console
Redeploying After Wasp Builds
When you rebuild your Wasp app (with wasp build), it will remove your .wasp/out/ directory. In there, you may have a fly.toml from any prior Fly.io deployments.
While we will improve this process in the future, in the meantime, you have a few options:
- Copy the
fly.tomlfile to a versioned directory, like your Wasp project dir.
From there, you can reference it in fly deploy --config <path> commands, like above.
- Backup the
fly.tomlfile somewhere before runningwasp build, and copy it into .wasp/out/ after.
When the fly.toml file exists in .wasp/out/ dir, you do not need to specify the --config <path>.
- Run
fly config save -a <app-name>to regenerate thefly.tomlfile from the remote state stored in Fly.io.